Archive | Uncategorized RSS feed for this section

Crispy oven baked hot wings

2 Feb

It’s Super bowl Sunday and I’m in The kitchen making wings! It just occurred to me that I have not shared this recipe with you guys. Please enjoy these crispy wings that my family really loves. The key is to get the wings dry and make sure you cover each one in a layer of baking powder. The baking powder pulls the moisture out of the skin, giving a crisp finish while allowing the meat inside to stay moist and tender. The second trick: use a baking pan with a rack on top that allows the fat from the wings to drip out of the way so your wings don’t get soggy! So good!

Ingredients:

1.5-2 lbs of raw wing segments

1 1/2 tbsp baking powder

1/2 tsp salt

1/2 tsp pepper

1 tsp season salt

1/2 tsp garlic powder

1/2 tsp cayenne pepper

Directions:

  • Preheat oven to 450
  • Use paper towels to thoroughly dry all of your wings
  • Mix baking powder and seasonings together
  • Pluck out any remaining feathers (eww- I know)
  • Put your fried wings in a freezer bag and dump in the baking powder mix
  • Shake the bag around to evenly cover wings in baking powder
  • Spray your pan rack with non stick spray
  • Place wings on the rack without touching.
  • Bake for 30 min and then turn the wings and return to the oven
  • Bake another 30 min to finish
  • Cover wings in your preferred wing sauce (calories not included) I use sweet baby rays buffalo sauce

Serve with light or fat free ranch (calories not included)

4 oz of wings= 210 calories

Penne and Italian Turkey Sausage

8 Feb

This was a quick, easy fix in my Instantpot tonight, but it would be super easy on the stovetop as well.  I’ll leave you directions for both.  This is a great quick and easy meal for a busy  night when you need something low in calories.  The trick is the penne.  I’ve found a low calorie penne (150 cal per 2 oz) at my local grocery store and it comes out tender and delicious just like the regular kind.  Keep in mind that my penne comes in a 12 oz box, and many of the regular types come in a 16 oz box, so you’ll have to adjust the water (if you use instant pot) and calories accordingly if you use the larger box.

Ingredients

  • 3 butterball sweet Italian turkey sausage links, sliced about 1/2 inch thick
  • 12 oz of reduced calorie penne
  • 1 container of pre sliced mushrooms
  • 1 jar of prego light smart pasta sauce (32 oz) or mommy’s on a diet homemade marinara
  • 32 oz of water
  • 1 tsp salt
  • 1 TBSP minced garlic
  • 1 tsp oregano
  • 1/2 cup white wine* (opt) or water
  • shredded parm and crushed red peppers for garnish (opt)

*white wine not included in calorie count

Directions:

Stovetop:

  1. Fill a large pot with about 4 cups of water, and bring to a boil.  Add penne and cook according to package directions.
  2. While water is boiling, warm 1 tbsp of oil in a large skillet.  Cook turkey sausage slices in the skillet until they are browned on the outside and cooked through.
  3. Use about 1/2 cup of water or white wine (opt) to deglaze the pan, meaning, pour the liquid in and use a spoon to scrape all the bits off the bottom so nothing is sticking to the bottom of the pan.
  4. Add pasta sauce, mushrooms, salt, garlic, and oregano to pan.  cover and cook on low, stirring occasionally while you continue working on pasta.
  5. Once pasta has finished cooking, drain it well.  Once mushrooms have cooked down, add your pasta to the large skillet and toss sauce and pasta together.

Instantpot: 

  1. heat instant pot on sautee function.  Add oil, and then sausages to cook.
  2. Cook sausages in oil just until they are browned on outside.
  3. Literally add all other ingredients in, starting with sauce, then mushrooms, then seasonings, then water.  Don’t stir it up.
  4. Once everything else is in the pot, add pasta.  Poke all pasta down inside the water and make sure no pasta is exposed (it won’t cook if it’s exposed).
  5. Set your Instantpot to manual for 6 minutes.  Quick release as soon as timer goes off.
  6. If there is too much liquid when it’s done, either stir it and then replace cover and leave it sitting covered in the pot for about 5 minutes: or you can stir it up and heat on sautee, adjusting the heat to “less” and stir continuously until sauce thickens.

Makes 5 servings= 378 calories per serving

Roasted Carrots with Thyme

2 Feb

This is a simple side dish, but it’s low calorie and it turned out delicious when I made it last night, so I decided to share.  My one regret is that I don’t have a better picture.  By the way, this recipe was inspired by one I made using the home chef delivery service.

Ingredients:

  • 8 carrots, cleaned and peeled
  • 2 tsp olive oil
  • 1 Tsp dried thyme
  • salt and pepper to taste

Directions:

  1. Preheat oven to 450.
  2. Cut carrots on the bias (diagonally) into slices 1/2 inch thick.
  3. In an oven safe skillet, warm your olive oil over medium high heat.
  4. Once oil is hot, add carrots.  Allow carrots to cook, turning them periodically for about 4-5 minutes, until the bottoms begin to char just a bit, or turn golden brown.
  5. Once carrots have a little char on them, add salt and pepper, and thyme.  Mix in seasonings.
  6. Transfer oven safe skillet to a hot oven, and bake 17 minutes at 450 degrees.
  7. When removing the hot skillet from the oven, be very careful.  Handle will be very, very hot.

5 servings= 65 calories per serving

carrots

Skinny Cheesecake

22 Jan

As I’ve mentioned in many of my recent posts, I’ve gotten an instant pot electric pressure cooker.  When you get an instant pot, and you start researching what you can use it for, there are 2 things that people are very vocal about.  Yogurt, and Cheesecake.  I love yogurt, but it’s cheap and I’m probably not going to go through the trouble of making my own. Cheesecake, however.  Well that’s another story. Challenge Accepted!  I will provide directions below for both oven baking and instant pot baking. I read a bunch of recipes, then made substitutions and switches and crossed my fingers, because you know, cheesecakes are finicky. The results are DELICIOUS.  When you join an instant pot discussion, it becomes clear rather quickly that there is one reigning queen of pressure cooker cheesecake, and her name is “this old gal” so, I took a few tricks from “This old Gal” on how to cook the cheesecake in the instant pot.

Note, I made this in a 7 inch spring form pan so these slices are smaller than an average cheesecake, but still enough to feel like you’re scratching your cheesecake itch.  This is a traditional cheesecake, but if you like the idea of Peanut Butter Cheesecake better, I’ve got that too.  Also, you try this yummy  blueberry orange cheesecake with a gingersnap crust, check out this recipe I posted a while back! 

Ingredients:

Crust:

  • 7 whole graham crackers (that’s 7 of the sheets of 4 rectangles).
  • 2  TBSP light butter or margarine (i used 50 cal per TBSP)

Filling:

  • 16 oz Neufchatel Cheese (sometimes marketed as 1/3 fat cream cheese) Room temp
  • 1/4 cup sugar
  • 1/4 cup splenda
  • just a pinch of salt
  • 2 tsp all purpose flour
  • 1 tsp vanilla extract
  • orange zest from 1/2 an orange
  • 3-4 drops of lemon juice (i just used the stuff in the plastic bottle this time but you could use zest from half an actual lemon instead)
  • 2 room temperature eggs
  • 1 room temperature egg yolk
  • 1/4 cup 1% milk

Instructions: 

  1. put all the graham crackers into a food processor and pulse until you have fine crumbs.
  2. Melt the butter in the microwave for about 25 seconds.
  3. Pour melted butter into cracker crumbs and stir until they are all well combined.
  4. Spray your spring form pan generously with cooking spray.
  5. Pour the crust mixture into the pan and use your fingers to press it evenly across the bottom, and up the sides just about an inch or so.  You can use the bottom of a glass to get a more consistent thickness and texture.
  6. Place the pan with the crust inside, into the freezer for 20 minutes to set while you work on making the filling.
  7. Once you’ve got your crust in place, it’s time to start making your filling.  It’s important to make sure your cheese is softened pretty well.  It should be very soft and pliable inside the package.
  8. Place your cream cheese, sugar, splenda, salt, flour, vanilla extract, orange peel, lemon juice, and milk into a mixing bowl.  Use stand mixer or electric beaters to cream these ingredients together until they are smooth.
  9. Add eggs, one at a time, and then yolk.  Mix until just incorporated after each one.
  10. Once filling is mixed together, pour it out on top of the crust, and spread it evenly across the pan.

Cook it! 

For the oven:

  1. Place your spring form pan on large sheet of heavy duty aluminum foil and fold the sides of the foil around the sides of the pan.
  2. Set pan inside a larger pan and pour boiling water into the larger pan until the water reaches halfway up the side of the springform pan.
  3. Very carefully place the whole contraption into the oven and bake at 325 for 55 minutes.  When the cake is ready, the edges will look done, but about 1 inch in the middle of the cake will still be jiggly.  This is perfect. It’s going to continue cooking in the next step.
  4. Turn off oven and prop door open.  Allow the cake to sit in the oven, turned off, door slightly open for 45 minutes.
  5. Remove to a cooling rack and let it cool completely before moving to the refrigerator.  Refrigerate 6 hours or overnight before serving.

For the Instant Pot:

  1. Pour 1 1/2 cups of water into the bottom of your Instant Pot, and then add the trivet.
  2. Place a paper towel over the top of the pan, and then loosely attach a piece of foil over the top to hold the paper towel in place.  Fold the edges of the foil loosely over the sides of the pan. The foil should not be tightly sealing up the pan, just loosely attached so the paper towel stays stretched across the top.  This paper towel will catch any condensation so it doesn’t settle on the top of your cake and ruin the texture.
  3. Create a foil sling by placing a large piece of heavy duty aluminum foil (about 2 ft long) on your counter, and folding it longways about 4 times.  So at the end, the foil strip should be about 4 inches wide, and 2 ft long.  Place your spring form pan directly in the center of this aluminum strip and pull the sides of the foil up to the top of the pan.  You’re going to use these pieces of foil as a handle to lift the hot pan out of the pot once cooking is done.
  4. Use the “handles” on the foil sling to lower your cake onto the trivet inside the Instant pot.
  5. Set the IP to high pressure, manual setting for 32 minutes.
  6. Once time is up, allow the Instant pot to sit for 18 minutes (NPR). Do not release any pressure until this 18 minute time frame has passed.  Once your 18 minutes has passed, release any remaining pressure manually.
  7. Use handles from the foil sling to remove the pan carefully and place the pan on a cooling rack.
  8. Unwrap the top of the cake and discard foil and paper towel.  Allow cake to cool on the cooling rack 1 hour before placing into the refrigerator.
  9. Refrigerate 6 hours to overnight before serving.

Makes 8 servings= 247 calories per serving

Editors Note:  My husband likes his cheesecake plain. I like mine with cherry topping.  Since the slices are small, I used 2 tbsp of kroger light cherry pie filling (shown below) to top mine.  That brought my calories up to 273.  My threshold for desserts to be listed on this site as low calorie, is 300 calories or less.  That being said, my husband chose to eat a 1/6th sized serving instead of 1/8th which brought his calories up to 327 with no topping. If you really love cheesecake and you’ve got calories to spare… go for it.  Cut it into 6’s instead of 8’s.


Low Calorie Homemade Pizza

10 Jan


So, this recipe is officially for pizza, but some folks don’t wan to go through the trouble of making sauce or they already have store bought sauce on hand.  Also, everyone likes different things on their pizza.  So I’m going to give you 2 things here.  I’ll give you the recipe for just crust, along with calorie count, and then I’ll give you my recipe for a cheese pizza.  That way if you make your own pizza, all you have to add are the calories associated with whatever toppings you choose to use.  This turned out much better than I expected.  In fact, the family loved it and it’ll definitely be making a return visit to my dinner table.

Crust Ingredients:

  • 2 single serve containers of plain greek low fat yogurt
  • 3 cups of self rising flower
  • 2 tablespoons of water

That’s it.  Yeah, I know. This sounds crazy, but it’s good I promise. Mix it together, knead with your hands for about 5 minutes, and voila!  Spray a large baking pan with sides down with nonstick spray.  Roll your dough out evenly to the edges of the pan, pressing any extra little dough up against the sides.  Use a fork to poke some holes throughout the crust and top your pizza with everything you want on it before baking. (13 min at 475).  Continue on if you wish to use my sauce recipe.

Pizza Sauce:

  • 2 6 oz cans of tomato paste
  • 2 tablespoons of water
  • 1/4 tablespoon of granulated garlic (garlic powder)
  • 1/2 tsp of oregano
  • 1/4 tsp of basil
  • just a dash of onion powder if you like it.

Instructions:

Mix ingredients together in a bowl and spread evenly over crust.

To make Cheese pizza:  add 2 cups of shredded mozzarella cheese and bake at 475 for 13 minutes.

Makes 5 average servings  or 4 pretty large servings. Cut into 15 slices (5 smaller servings, 3 slices each) or 8 large slices (4 servings, 2 slices each)


4 servings: Crust only= 345 calories             4 servings: Cheese Pizza = 580 Calories

5 servings: Crust only = 275 calories           5 servings: Cheese Pizza= 464 Calories


I used turkey pepperoni, turkey sausage, and fresh mushrooms on my pizza pictured here. Well.. parts of it. The lower bottom right quarter is just cheese for my picky kid:

pizza-2             pizza-1


Avacado Salad

3 Apr

My need to try this salad started with one of those 30 second video recipes on facebook.  I don’t know which site it was that posted it, but it sent me on a google search for something similar.  So, I won’t take credit for this recipe.  It’s one I borrowed from a blog called Natasha’s Kitchen.  The only alterations I made were using less lemon, and less oil.  This was yummy.  I’ll make it again in the summer.  Sort of like turning Guacamole into salad…how can you go wrong? 🙂

Ingredients: 

  • 2 Haas Avacados, ripe
  • 3 Tomatoes, chopped
  • 1/4 of a red tomato diced
  • 1 cucumber, peeled, seeded and diced
  • 1/4 cup chopped cilantro
  • 1 TBSP olive oil
  • Juice from 1/2 a large lemon
  • Fresh Ground Pepper (to taste)
  • Sea Salt (to taste)

Directions: 

  1. Chop your avacado, and tomatoes to about the same size.
  2. Slice your cucumber down the center long ways and scoop out the seeds with a spoon.  Dice the cucumber a little smaller than the tomatoes and avacado.
  3. Mix all your veggies together, stir in the Oil and Lemon Juice, as well as cilantro.
  4. Salt, Pepper, Stir, and enjoy 🙂

Makes 6 Servings= 131 calories per serving 

img_2890  


Thai Basil Grilled Porkloin

1 Apr

So, this idea came from my friend Todd… Full disclosure… But it sounded good, I tried it, and I loved it, so I have to share it 🙂 The best thing about this recipe was that it fed us for 3 full meals, and made great sandwiches on day 2! It’s super easy to boot!  Todd’s version was a little fancier than mine, with sliced onion and fresh basil added, which I think would be a great addition.  But, I’ll definitely be making this again.

Editors Note:  I used a store brand (Kroger) stir fry sauce for this recipe (see below).  If you don’t live near a Kroger, you could use a similar sauce of a different brand.  The sauce I used was 25 Calories per tablespoon.

Ingredients:

  • 3 lb pork loin
  • Bottled Thai basil stir fry sauce
  • 1 tbsp minced garlic
  • Salt and pepper to taste

Directions:

  1. Trim fat from outside of roas and Salt and pepper the outside of your porkloin to taste.
  2. Butterfly the entire roast (cut it through the center longways, without going all the way through. Stop when you have about a half inch left)
  3. Place entire roast on a large piece of aluminum foil.
  4. Open up the roast where you cut, so you can season the center.
  5. In the middle of the roast, spread the garlic, and 1/4 cup of the Thai basil sauce. Salt and pepper to taste.
  6. Fold the roast back together. Some of the sauce is going to ooze out of the middle and onto the foil.
  7. Add about 2 tbsp more sauce to top of roast. Spread the sauce you added, along with all the sauce that oozed onto the foil, all over the pork loin.
  8. Place a 2nd piece of foil on top and fold the pieces of foil together at the edges, creating a sealed pouch around the roast. Continue folding in to Make the pouch tight against the roast.

Grilling the roast:

I used my gas grill. You could use a charcoal grill if you wanted but it’s important to use indirect heat and adjust the timing accordingly. Meat is done when it reaches 155 degrees in center.

1. Preheat your grill. I turned mine on high (all 3 burners) and left it for 5 minutes.

2. After preheating, turn the center burner off completely and turn the 2 side flames to medium-high.

3. Place the foil pouch on the middle of the grill so it is not directly above any heat source. Close your grill and let it go 20 minutes.

4. Flip and cook another 20 min.

5. After 40 minutes check the temp in the center of your meat. When it reaches 130 degrees remove from foil and turn the center burner on medium.

6. Continue cooking directly on the grill (out of the foil) until center reaches 150- turning meat periodically.

7. Remove to a platter and allow the pork to rest for 10 min. This is important! It allows the pork to stay juicy when you cut it and also continues cooking while it rests (it needs to get to 155 before serving).

8. Slice into 8 servings and serve each slice with an additional 1 tbsp of Thai basil sauce on top.

Makes 8 servings= 290 calories per serving 


Butterflied, seasoned, and fat trimmed

img_2853

On the grill!


img_2850

Finished Product!


Dinner is Served!


Brown Sugar Glazed Carrots

17 Oct

I’ve never been a big fan of cooked carrots, unless they were in a roast.  My mother used to make glazed carrots occassionally when I was a kid, and I remember having like them because of the sweetness, so I thought I’d give them a shot.  I’m trying to broaden my repertoire of side items, and this one seems to be a good fit.  I hope you enjoy.

Ingredients:

  • 1 lb bag of baby carrots
  • 3 TBSP of Splenda Brown Sugar mix
  • 1 TBSP honey
  • 2 TBSP of light butter or margarine (50 cal per tbsp)
  • 1/4 tsp salt
  • 1/4 tsp cinnamon

Directions:

  1. Place carrots into a large saucepan, with enough water to cover them about halfway. Bring pot to a boil, and reduce to a simmer.  Simmer carrots, covered, for about 10-12 minutes. (You could also steam them if you prefer)
  2. Remove carrots from pan and set aside. Melt butter in the saucepan; stir brown sugar, honey, salt, and cinnamon into butter until brown sugar is melted.
  3. Stir Carrots into sauce and allow everything to cook together about 5 minutes, stirring throughout.  

Makes 5 servings= 90 Calories per serving

Appx 1 weight watchers point plus per serving


Pork Guinness Stew

13 Oct

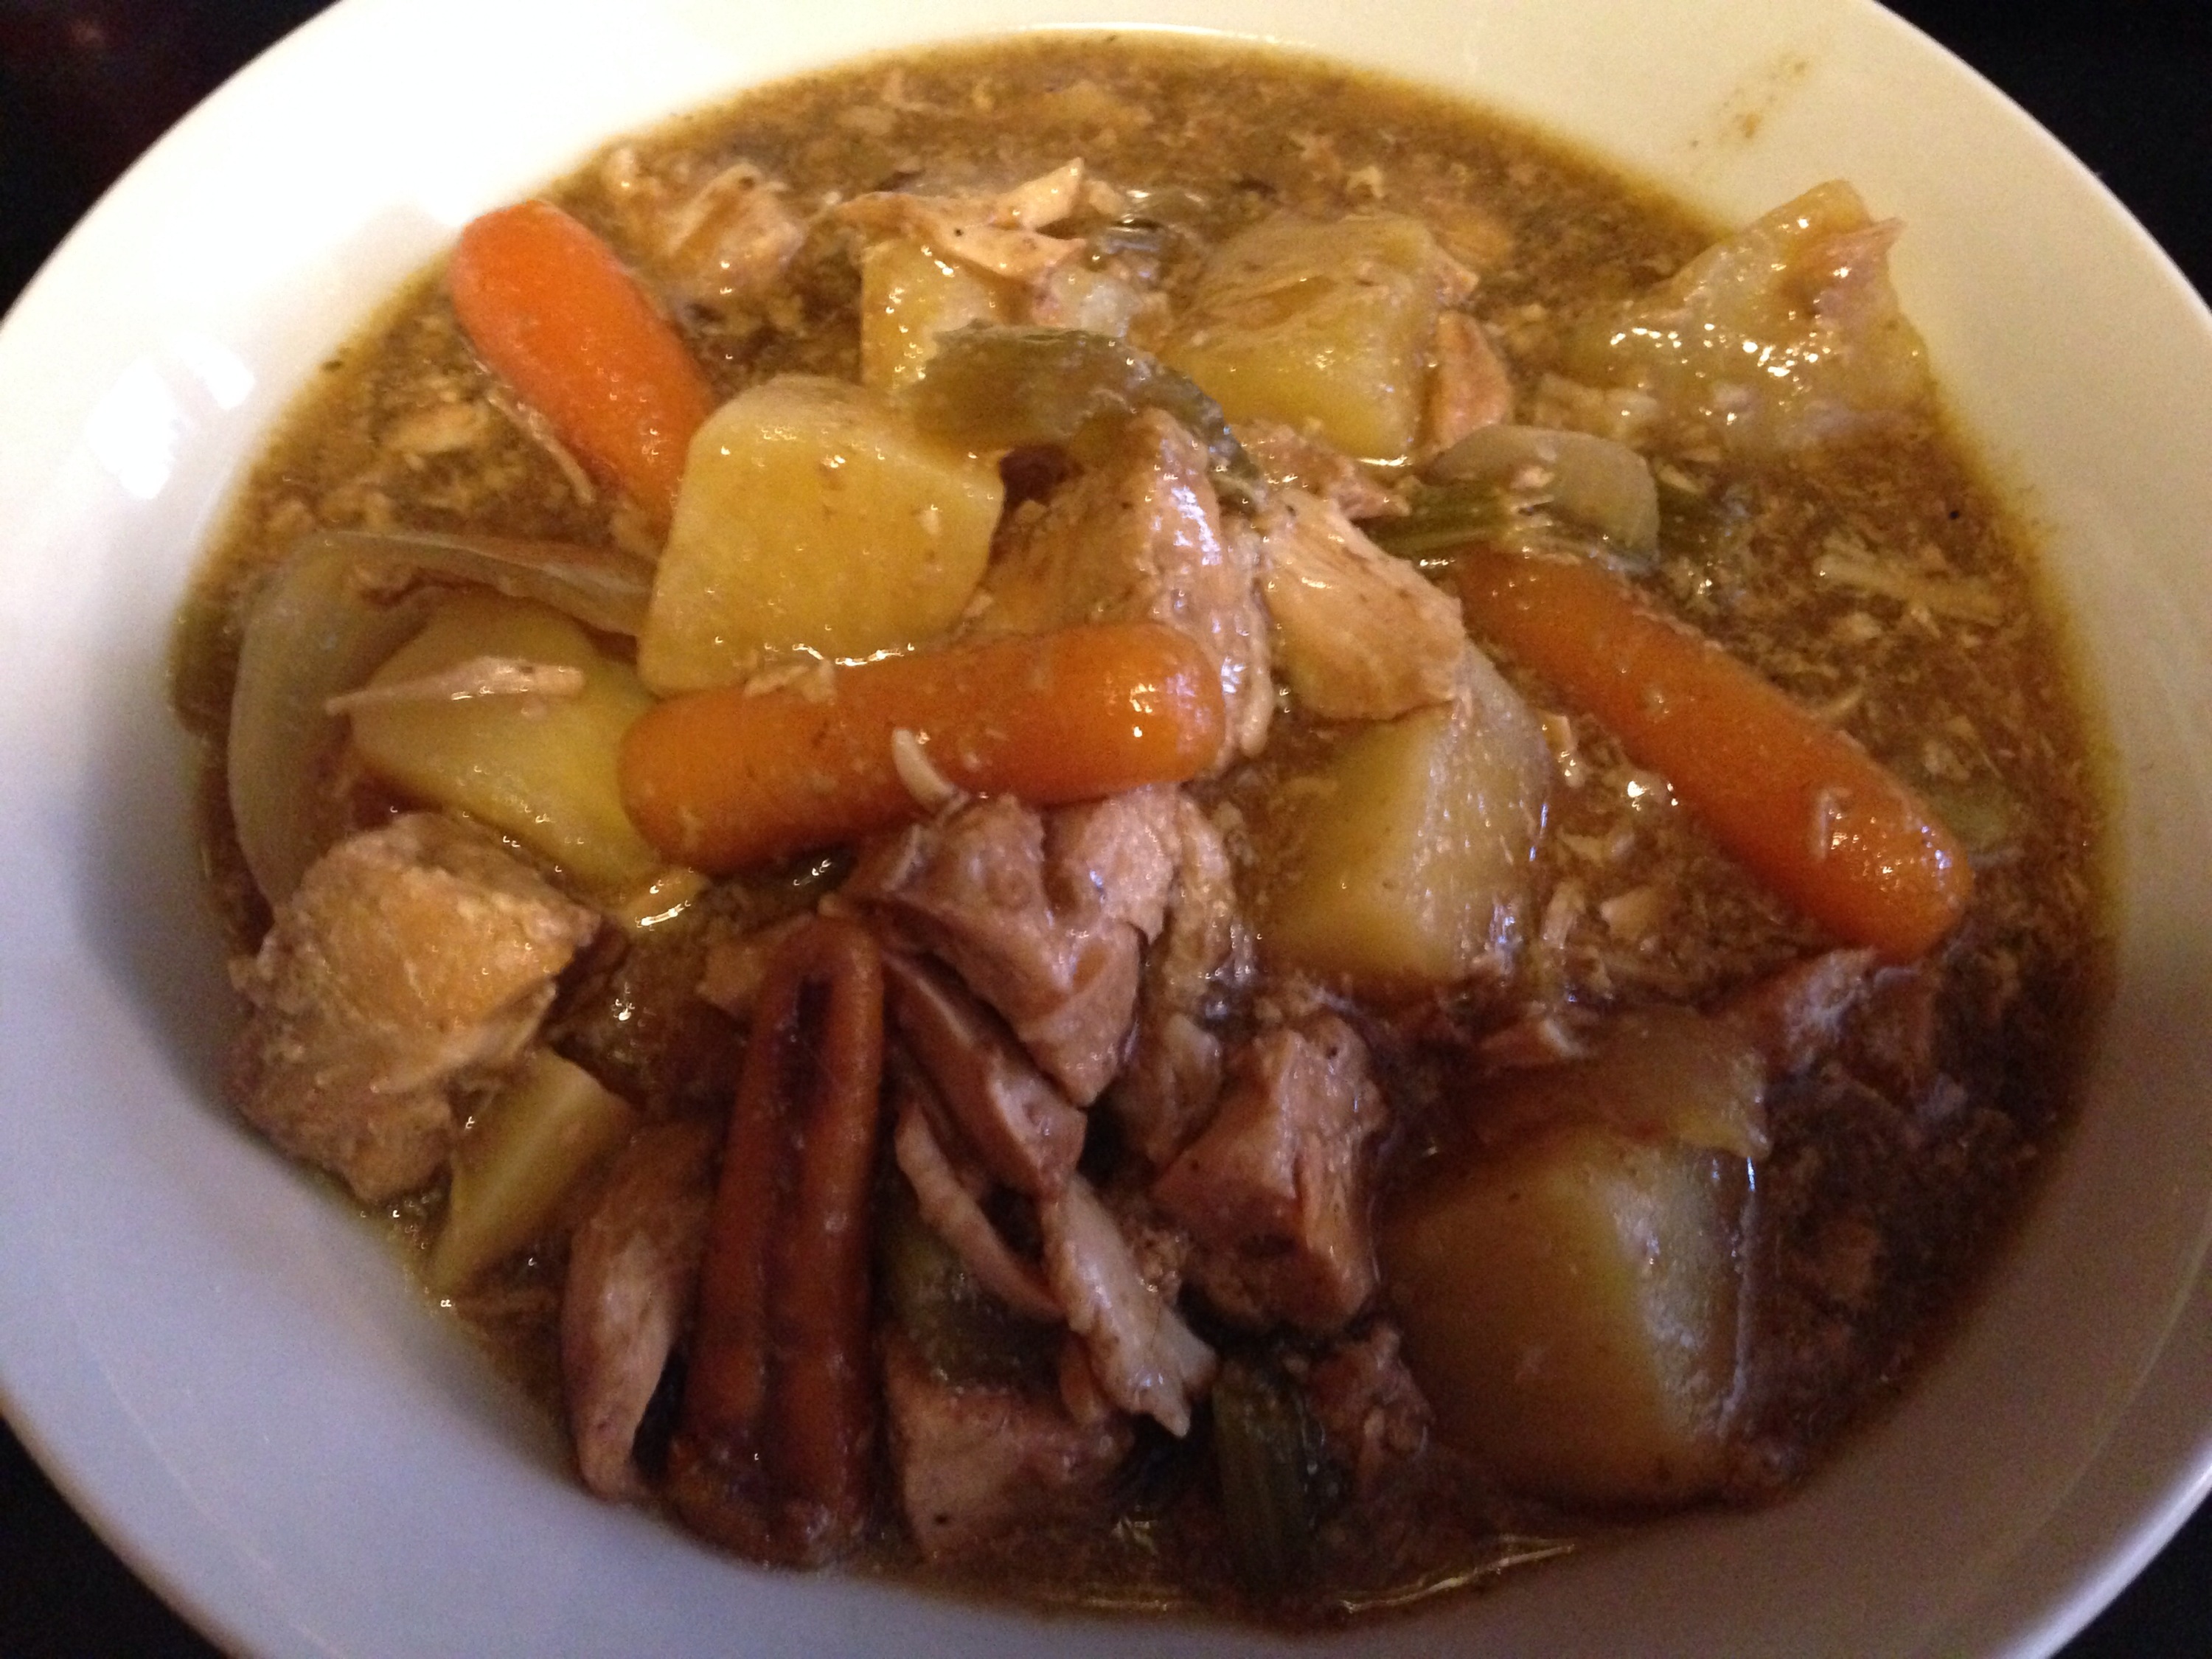
This is a hearty Irish stew made easily in the crock pot. It turned out very filling and delicious, and the calorie count was much lower than I expected. I call this guiness stew because you use a dark beer (like guinness) in the stew. It doesn’t have to be guiness. Any dark beer will do.  In fact, the one I used wasn’t actually guinness. One thing I love about crock pot recipes is how easy they are the day of.  For this one, I cut the meat, salt and peppered it and stored it in the crock pot insert in the fridge overnight.  I cut the onion/carrot/celery and stored them together in a ziplock bag in the fridge, and measured out all my spices and set them aside.  So on the morning that I put this together I just peeled and chopped a potato, and put everything in the crock pot.  This made life easy on one of those busy days, and the house smelled fantastic when I got home from work 🙂  One thing… don’t cut the potato the night before… it could oxidize in the fridge which is bad news.

Ingredients: 

  • 2 lb lean pork loin
  • 1 large russet potato
  • 25 baby carrots
  • 1 onion, sliced
  • 3 celery stalks, chopped into 1 in slices
  • 1 can low fat chicken broth
  • 8 oz of dark beer
  • 1 tsp garlic powder
  • 1 bay leaf
  • 1 tsp caraway seed
  • Salt and pepper to taste
  • 3 tbsp balsamic vinegar
  • 3 tbsp corn starch

Directions:

1. Cut your pork loin into cubes, about 1 inch x 1 inch, and place pork in the bottom of crock pot. Salt and pepper the pork to taste.

Note:  I find cutting the pork is easier if you freeze the meat about halfway first. If the meat is already frozen, thaw it halfway before attempting to cut (I just set a frozen pork loin in the fridge Sunday night, and I prepped this Monday evening to cook Tues morning).

2. Peel potato and chop into about 1×1 inch pieces as well. Spread evenly over meat. It’s important that potatoes are directly on top of meat so they will be covered with liquid while cooking. If they are not covered they will not cook through and they may oxidize and turn black (you don’t want that)

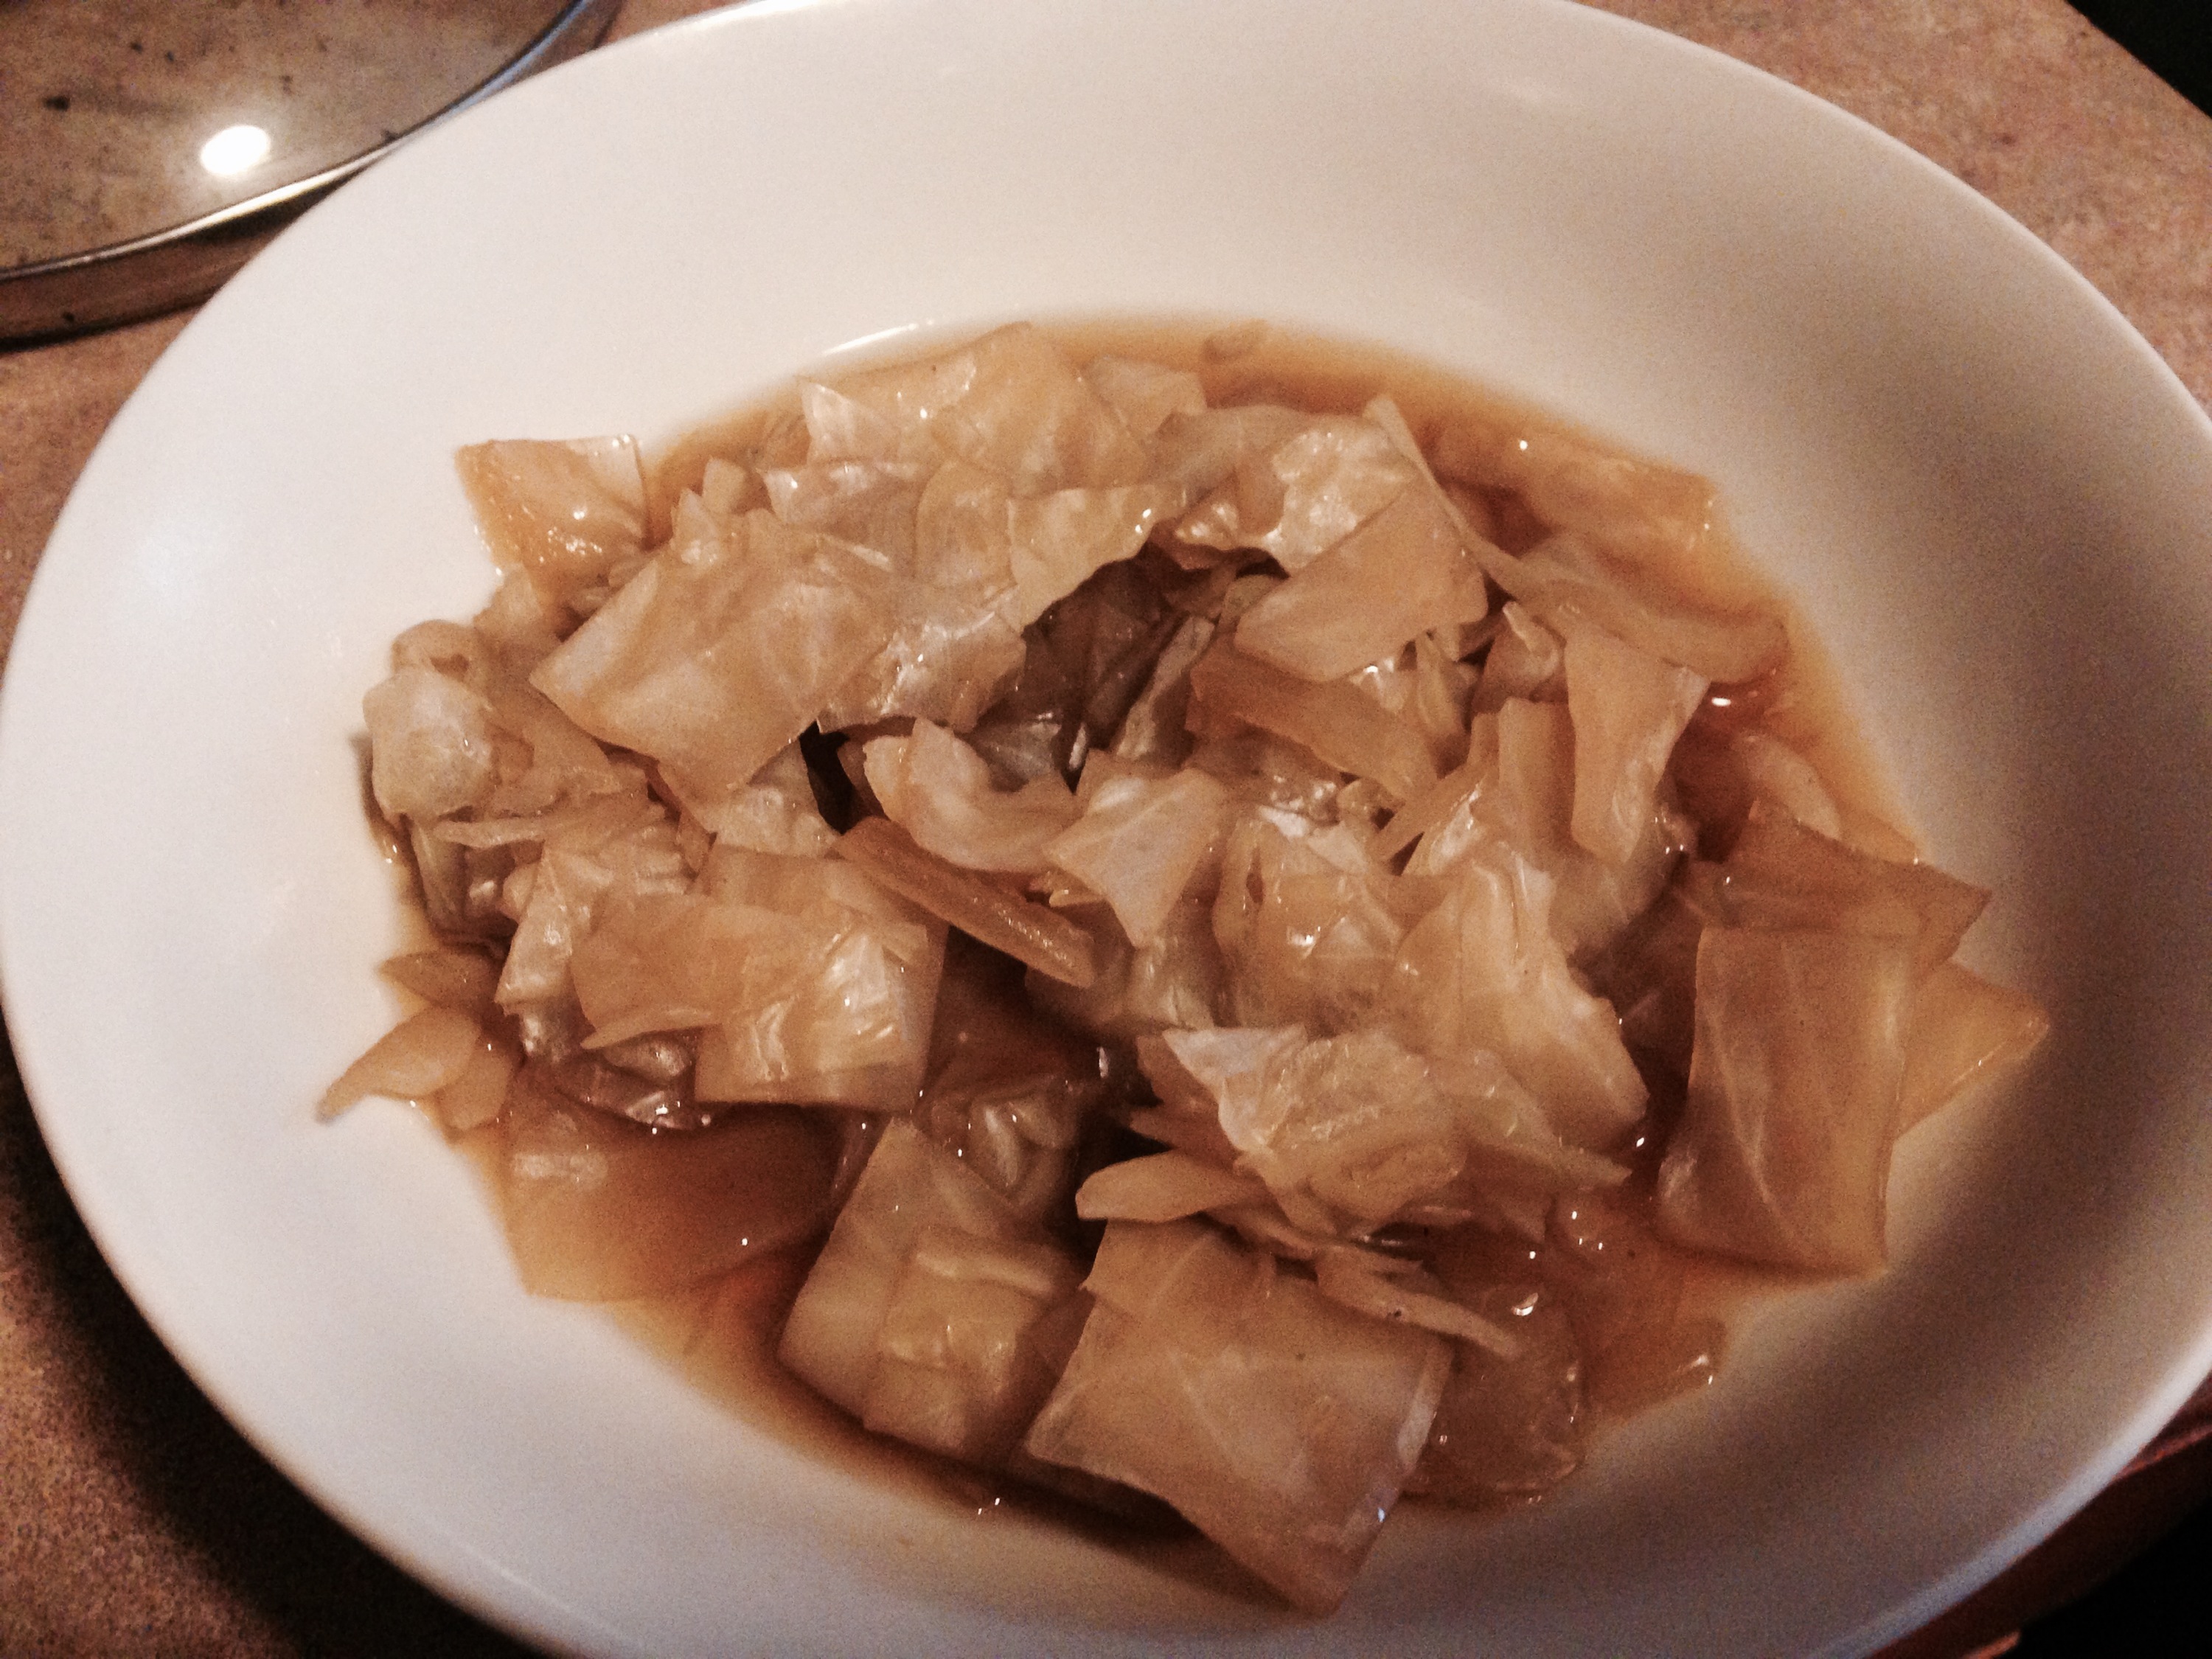
3.  Place carrots, onion and celery on top of potatoes.

4.  Mix broth, beer, vinegar, bay leaf, garlic powder, and caraway seeds together and pour over the items in the pot.

5. Cook on low for 10 hours. Don’t open the lid. Seriously. Don’t open it until it’s done.

6. After cooking 10 hours, mix contents with a spoon and remove 1/2 cup of broth. In a small bowl mix 1/2 cup broth with corn starch until a smooth cream is formed.

7. Pour cornstarch mixture into crock pot and stir to mix well with the stew. Turn crock pot up to high and leave uncovered for 10 min, stirring periodically. This will thicken your sauce.

Serve with rice, bread, noodles, or as is. Makes 9 1/2 cups of stew.

1 cup= 182 calories

Appx 4 weight watchers points per cup

Sweet and Sour Cabbage Soup

22 Sep

I put this recipe together while trying to recreate a soup I’ve had many times at Izzy’s restaurant in Cinci. This goes nicely with the Turkey Reuben sandwich I posted yesterday, and combined they’re only about 300 calories!

It’s a simple but yummy soup.  I really enjoyed it, and if you like cabbage, I think you will too.

Ingredients:

  • 1 small-medium head of cabbage, diced into 1 inch squares
  • 1/2 a medium onion, chopped
  • 40 oz of beef broth (use vegetable broth to make this vegetarian!)
  • 1/4 cup of apple cider vinegar
  • 1 TBSP splenda brown sugar blend
  • Salt and Pepper to taste

Directions:

Mix all ingredients together in a soup pot, and bring to a boil.  Reduce heat to low and cook, covered for about 1 hour, stirring periodically.

Note:  I tried to make this in the crockpot and it didn’t really work.  This one’s a stovetop soup for me going forward.

Makes 6 cups of soup at only 42 Calories per cup!

0 weight watchers points per cup